
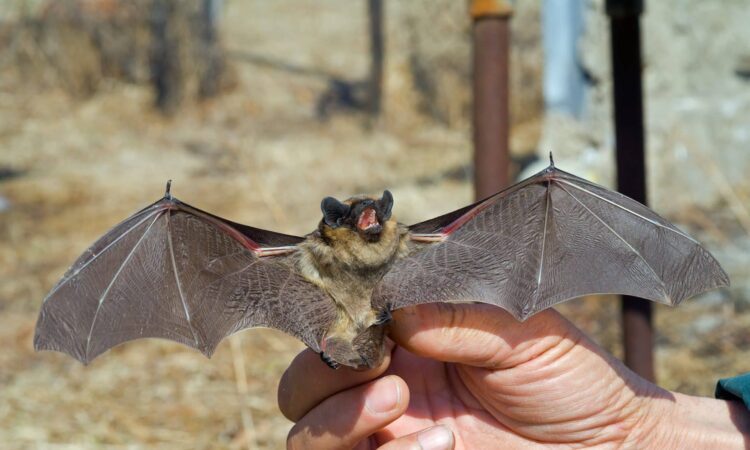
Bats are essential to the environment—they control pests, pollinate plants, and support healthy ecosystems. But when they roost in homes, particularly in attics, chimneys, or wall voids, they become a serious concern. From the risk of disease to potential structural damage, bats in your home are a problem that requires prompt and humane resolution. So, what’s the best method for effective bat removal? Let’s break it down step by step.
1. Identify the Infestation Early
The most effective bat removal begins with early detection. Homeowners should be alert to these common signs:
- Scratching or fluttering sounds in walls or ceilings, particularly at dusk or dawn.
- Dark, pellet-like droppings (guano) accumulating below entry points.
- Strong, musty odors from urine or large guano deposits.
- Visible bats flying in or out at sunset from vents, soffits, or chimneys.
Identifying the problem early minimizes contamination and reduces the chance of a large colony forming.
2. Timing Matters: Avoid Maternity Season
Bats often form maternity colonies between late spring and early summer. During this time, young bats cannot fly. Attempting removal during this period can trap pups inside, which is both inhumane and illegal in many areas. The best time to remove bats is late summer through early fall, once the young are capable of flying.
3. Exclusion: The Only Proven, Humane Method
The most effective—and legally accepted—method of bat removal is exclusion, not extermination. Exclusion involves the following:
- Locating All Entry Points
A thorough inspection is necessary to find where bats are getting in. Common entry points include attic vents, chimneys, roof edges, and loose siding. - Installing One-Way Exclusion Devices
These are specialized tubes or netting that allow bats to exit the structure but prevent them from re-entering. It’s critical that all other potential entry points are sealed during this process to avoid re-entry from alternate routes. - Monitoring Bat Activity
Over the next several days, bat activity will naturally decline as the bats leave through the exclusion devices. No trapping or forced removal is necessary. - Sealing Entry Points
After confirming that all bats have left, technicians seal the primary exit and reinforce all other vulnerable areas with bat-proof materials.
This approach removes the bats humanely and permanently without harming a single animal.
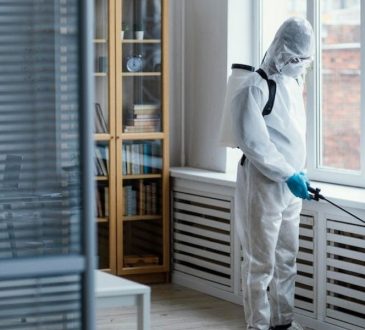
4. Clean and Sanitize the Area
Guano and urine from bats can accumulate quickly and cause:
- Respiratory risks from histoplasmosis (a fungus found in guano).
- Strong ammonia-like odors that spread through ventilation.
- Structural damage to insulation, drywall, and wood.
Professional bat removal services include decontamination of the roost area, disposal of contaminated materials, and restoration of insulation if needed.
For those seeking safe and professional assistance, many turn to trusted providers like Capital Wildlife bat removal, who offer expert inspection, exclusion, and cleanup services using humane practices backed by experience.
5. Prevent Future Infestations
The final step in effective bat removal is prevention. Once bats are gone, it’s important to:
- Seal all cracks, gaps, and openings with mesh or sealant.
- Install chimney caps and attic vent screens to block future access.
- Trim overhanging trees near the roof to reduce landing zones.
- Schedule annual inspections to ensure the structure remains secure.
These steps are crucial for ensuring your home remains bat-free over the long term.
Conclusion
The best method for effective bat removal is not trapping, extermination, or poison—it’s a carefully timed, humane exclusion process performed by knowledgeable professionals. When done right, exclusion safely removes bats, protects their ecological role, and preserves your home from damage and health risks. For peace of mind, consider working with experienced services that follow legal guidelines, ensure thorough cleanup, and seal your home against future invasions.

